Case Mod - Digital Picture Frame
MATERIALS
- IBM Thinkpad 560/560E w/ TFT (not dualscan)
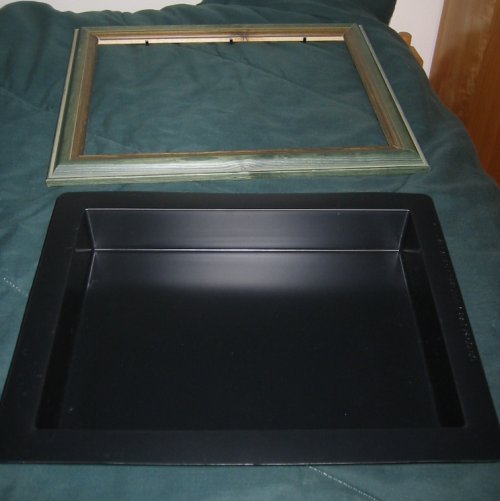
- 11x14" frame (wooden preferred)
- Plastic shadow box back (like this)
- 11x14" photo matte cut for 8x10", black core black
- 1x72" roll of heavy duty mounting tape
OPTIONAL
- PCMCIA NIC, BlueTooth, or 802.11 card
- PCMCIA CF/SM/MMC card reader
- PCMCIA USB adapter
- IBM Thinkpad keyboard/mouse splitter
- Laptop battery
- Mounting hardware
SUPPLIES
- Masking or clear tape
- Knife and/or scissors
- Ruler
- Black Sharpie
- White paint pen
BUYING THE THINKPAD
Any laptop with a TFT could be used, but the Thinkpad 560 is ideal for several reasons:
- Good size screen @ 12" diagonal
- Lightweight @ 4lbs
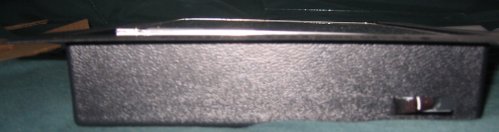
- Thin @ 1"
- Cheap
- Fits prefectly into the shadow box back we'll be using
- Easy to disassemble (all Phillips-head screws)
If you were to use another model laptop, the only major difference would be in mounting it into the shadow box. Assuming the laptop dimensions are smaller, you could just center it and fill in the empty space with household gap filler or something. Should the screen be a different size, you'll just have to get a matte cut to match.
I originally bought a dualscan model, which is horrendously inappropriate for this project. Apparently not all post-1995 laptops have TFTs, so look out. If it doesn't say specifically, check to see how many sliders it has -- a TFT will have only one slider to the right of the screen; a dualscan will have 2. If you happen to have a dualscan around, feel free to hack that one up first before doing the same to the TFT version, which is what I did.
BUYING THE FRAME
While any 11x14" frame would do, a wooden one would be best, since screw eyes can be screwed into the back. Since the laptop isn't necessarily weighted evenly (the battery really throws it off), using screw eyes is a good way to fix the problem. Frames with wider borders will tend to look better, as they cover up the shadow box backing when viewing the frame at an angle. Lastly, make sure that the fasteners on the back of the frame are strong enough to hold the backing plus 4lbs. If it won't, you're going to have to build some sort of additional support system.
SETTING UP THE SOFTWARE
It's a very good idea to do some system configuration before beginning construction. At least do a base Linux install. You can install the photo rotation software after inserting the laptop into the frame, but it would be wise to ensure that everything is working properly with the laptop first. However you choose to go about it, you can find the necessary files under the Files section at the end of this document.
CONSTRUCTION
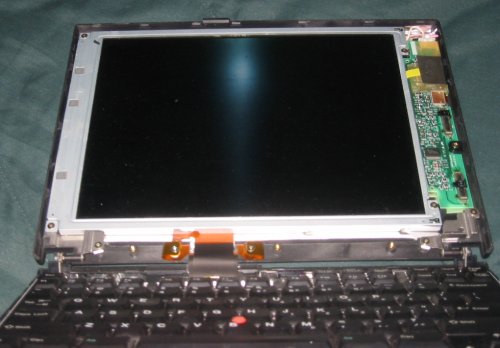
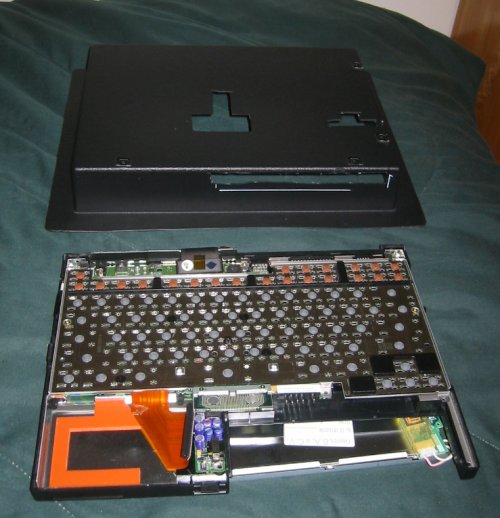
The target.
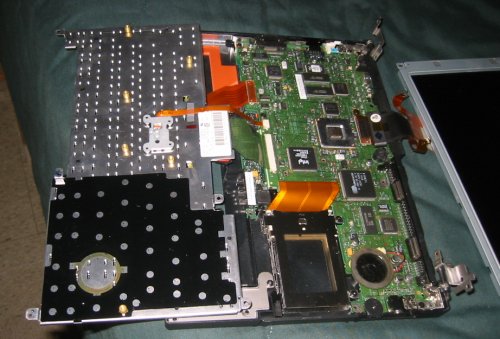
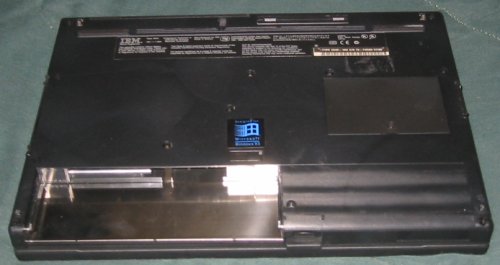 Here's the underside of the laptop, with the battery removed. Ensure that there isn't any power going into the components before you start taking the computer apart. There are 10+ screws to remove here... if the laptop has never been opened before, the screws will be covered by a circular plastic sticker. Go pokey-stab with a small screwdriver until this pops off, then remove the screw. Also note that the screw holding the memory cover will have to be removed so that we can take out the keyboard.
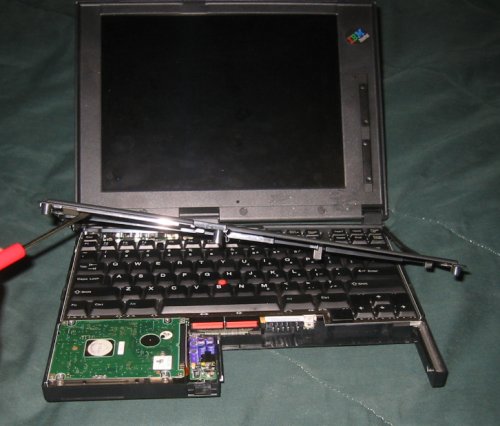 The hard drive shows itself; everything else is covered by the keyboard. The whole plastic frame around the keyboard will come right off now, as long as all the screws have been taken care of. The frame is snapped in around the left and right edges of the keyboard; a tug will pop it right out.
You can also see in this pic the screw covers for the display, the three circles at the bottom. Remove these and take out the screws.
The hard drive shows itself; everything else is covered by the keyboard. The whole plastic frame around the keyboard will come right off now, as long as all the screws have been taken care of. The frame is snapped in around the left and right edges of the keyboard; a tug will pop it right out.
You can also see in this pic the screw covers for the display, the three circles at the bottom. Remove these and take out the screws.
 And after we've removed the front bezel, there are more scews. Remove them all. The circuit board to the left of the display is the inverter. Treat this with as much care as you would the display itself, otherwise the display is useless.
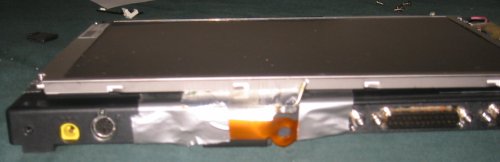
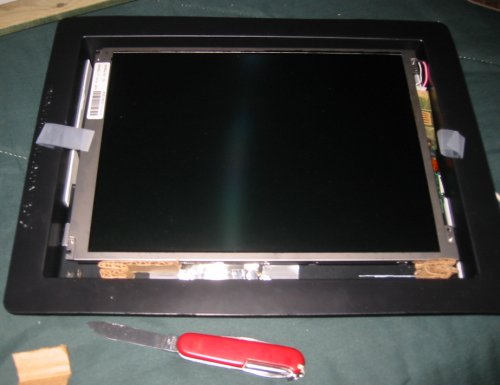
 Removing the display from it's housing unveils it's connection with the mainboard. There seems to be a bit of slack; good. The plastic back of the display housing can now be discarded.
 As long as all the screws are removed, the keyboard can be flipped out and removed (it'll be put back soon, since it's needed to boot). Pop out the small tabs on the sides of the connectors to do this.
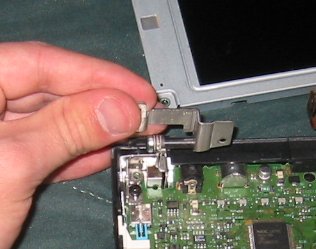 Remove those hinges. Yes, they're screwed in.

Checking the fit.
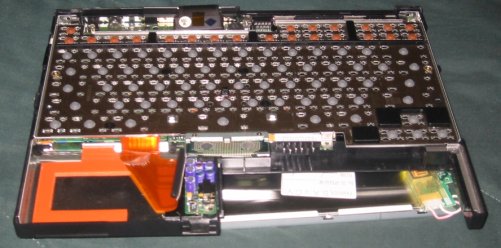 The keyboard replaced, with all the keys popped off. This is done simply by pulling on the key; this will reveal a small plastic hing which will also need to be removed. The keys had to be removed so that they do not contact the back of the shadow box, since it will be dropped in keyboard-first.
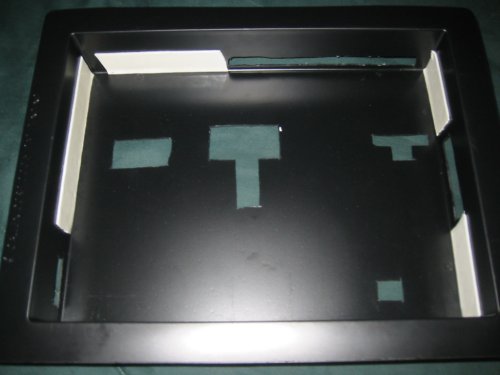
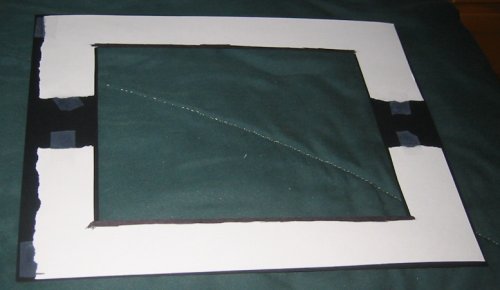
 The laptop with the shadow box. The shadow box has some stratigically placed cut-outs to allow for some special operations. Should the BIOS ever need to be accessed, the Trackpoint and mouse buttons need to be cut out. Holes for the PCMCIA slots, power switch, power, and maybe the battery should be cut as well.
 Now is a good time to tape down the video cable, since it could snag and cause problems while mounting the laptop into the shadow box.
 The mounting tape stuck into the shadow box. Only apply it where there will be direct contact with the laptop's plastic housing; no need to put it where the ports will be.
 When 100% sure, mount the laptop into the shadow box. It's not coming out without a fight, so make sure that the orientation is correct, and that ssh or telnet is starting automatically on boot. Remember to replace the hard drive and/or battery if they've been removed.
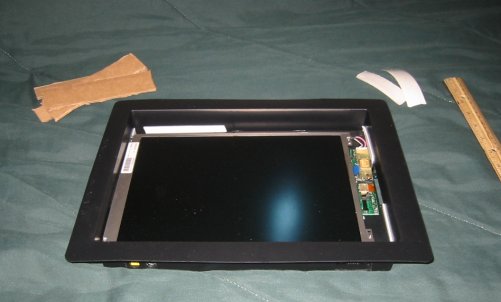
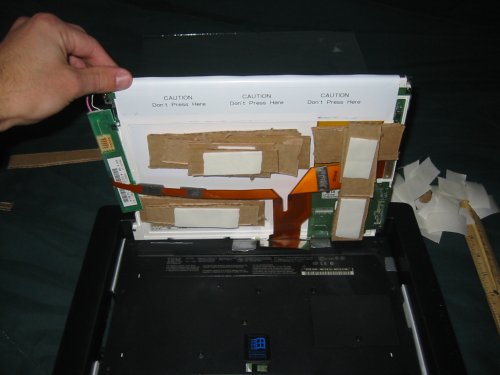 Once the laptop is mounted, all that really needs to be done is to prop the display to the correct height and to center the display in the shadow box. Cardboard and mounting tape are good materials to use for propping, since they're easy to cut and will give a little if the display is propped up a bit too much.
Oh, and that strip at the top of the display that says "CAUTION Don't Press Here".... don't press that.
Once the laptop is mounted, all that really needs to be done is to prop the display to the correct height and to center the display in the shadow box. Cardboard and mounting tape are good materials to use for propping, since they're easy to cut and will give a little if the display is propped up a bit too much.
Oh, and that strip at the top of the display that says "CAUTION Don't Press Here".... don't press that.
 After about 4 layers of cardbaord. The top of the shadow box has been exceeded just a little, but it'll settle in once the glass is put on top.
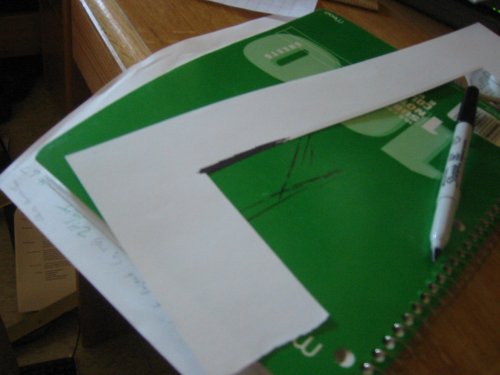
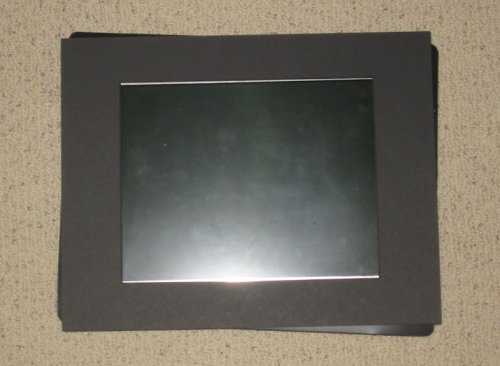 Now that the display is centered in the shadow box, it's time to put the matte on.... oh wait, it doesn't quite fit. As it turns out, a 12.1" display doesn't quite match a standard 11x14" matte. There are two solutions to this: get a matte specially cut (expensive) or work with the standard size.
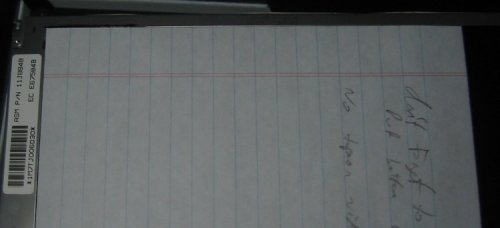 Sharpie works on metal. While the color won't match the matte exactly, the metal can be seen when viewing the picture from certain angles, so blacking it will help. Throw a sheet of paper over the acutal display so it doesn't get marked up. Use a fine-tipped sharpie and apply two coats.
 An 11x14" paper matte came with the frame, when colored with a Sharpie, the color is very close to the real matte.
 There is a difference of 1mm on the top and bottom between the frame size and the matte size. The secondary matte is taped underneat the first matte so that it will cover up the 1mm of metal that would show through otherwise.
 The display has a tendancy to slide down a bit when the frame is in a vertical position; cardboard supports counteract this. Some clear tape was used to keep the matte from sliding around while the glass and frame were being put on.
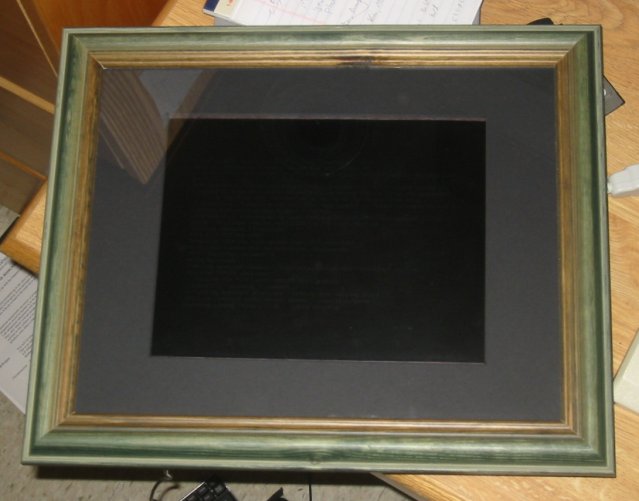
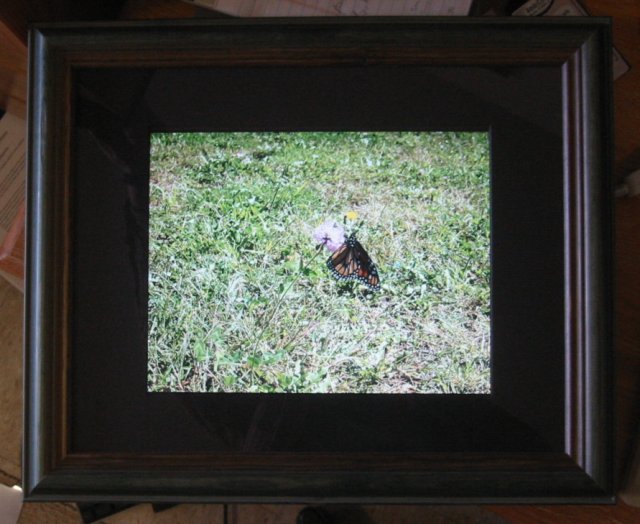
Contruction complete.
And it actually works.
HANGING
The whole frame is only somewhere around 4lbs, so standard 20lbs picture hanging wire should be more than sufficient to hold the frame.
TRANSFERRING AND DISPLAYING PICTURES
There are several ways to transfer pictures over to the frame. If you're using an ethernet, 802.11, or Bluetooth card, you can just FTP them over. Alternatively you could pull the CF/SM/MMC out of your digital camera and plug it into a PCMCIA adapter, then have the pictures automatically copied over when the hotplug action is detected by Linux.
I'm planning on setting up a simple way to transfer pics (perhaps a PHP script that can be accessed using a web browser), but nothing is done yet.
I used the following parameters when starting zgv:
zgv -lM --viewer-start-mode "800 600 24" -S 15 -R *jpg
This will force the pictures to be displayed full-screen, unless they are less than 800x600 (no scaling up). There will be a 15 second delay between each picture, and it will loop forever. For some reason, when zgv quits it poops on the screen. Either the video mode is not being reset correctly or the video memory is messed up. This doesn't really matter though, since the zgv will be looping forever.
FILES
Picture Pack - test image for the frame. These are all original, but you are free to use
them when testing your frame. Please ask before using them elsewhere.
zgv - the prgram used for displaying the pics
svgalib - required by zgv. This is included with most Linux base installs.
libvga.config - A libvga.config file suitable for Thinkpad 560s w/ TFTs.
scalepics.sh - A shell script I wrote to resize pics to the correct size. I'm sure it's highly inefficient, but
it works. It uses ImageMagick, which can also fix the orientation of pics, but so many of my pics have incorrect orientation values that this isn't really helpful.
|